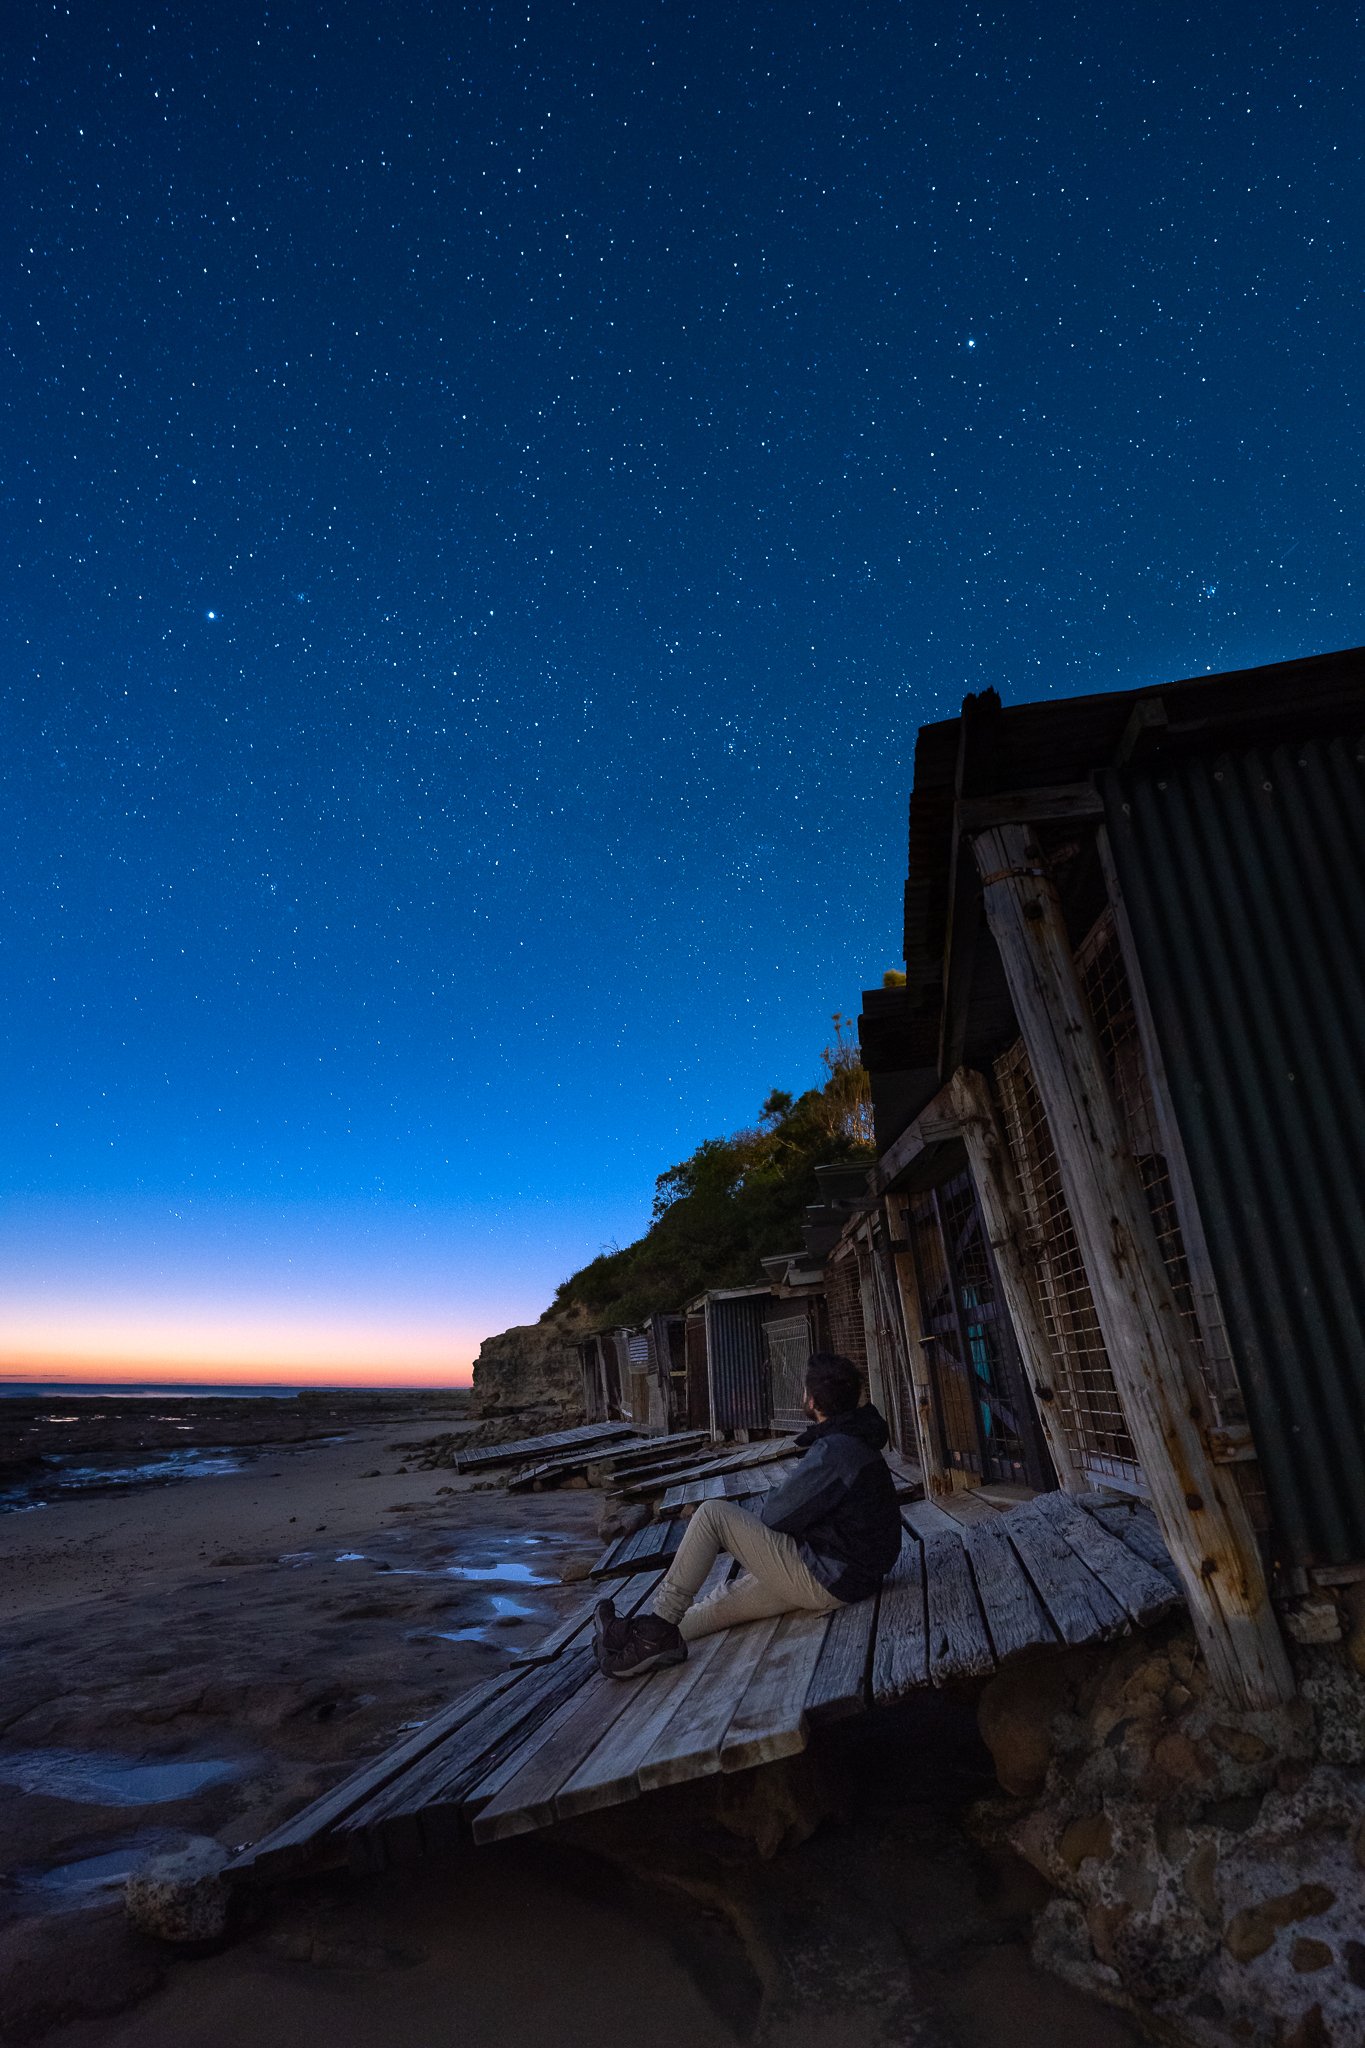
How To Photograph The Night Sky Like A Pro
Ready to capture the starry night sky like a pro? As a landscape photographer, you're probably already used to capturing stunning vistas, but adding astrophotography to your repertoire can take your work to new heights. Here are 7 tips to help you get started with astrophotography!
First things first, location is key. You'll want to find a spot with minimal light pollution, so the stars can shine bright as possible without competition. Online tools like Dark Sky Finder and Light Pollution Map can help you find the best spots in your area. I use the incredibly helpful and powerful PhotoPills app which allows me to track everything from sunrise to sunset locations and even the direction of the milky way!
Timing is also crucial. The darker the sky, the more visible the stars, so aim for a new moon or crescent moon phase. However, if you want to shoot during a full moon, be prepared for a brighter sky, which can make it trickier to see the stars but will help you to capture more foreground.
Now, let's talk gear. You'll need a camera with manual controls, a wide-angle lens with a bright aperture (something like the Tamron 17-28mm f 2.8 would be perfect), a sturdy tripod, and a cable release or remote timer to avoid camera shake. Don't forget a torch or a headlamp so you don't trip over anything in the dark!
Once you're set up, it's time to play with your camera settings. You want to capture as much light as possible, so try starting with an ISO of 1600-3200, a shutter speed of 20-30 seconds, and an aperture of f/2.8 or wider. Experiment with different settings to find what works best for your location. It’s worth noting that for most astro shots longer than 20-30 seconds, there will be movement and blurring of the stars due to the rotation of the planet!
Focusing in the dark can be challenging, but you have a few options. One trick is to use the live view mode and zoom in on a bright star, then manually focus until it's sharp. Alternatively, you can use the hyperfocal distance for your lens to keep everything in focus from the foreground to the stars.
Composition is still super important! Consider adding an interesting foreground element to your shot, like a tree or rock formation, to create depth and visual interest.
Finally, it's time to edit your photos. Post-processing can make a big difference in bringing out the stars and reducing noise. Adobe Lightroom and Photoshop are great options, as well as specialized software like DeepSkyStacker and Starry Landscape Stacker.
So there you have it! With these tips, you'll be capturing stunning astrophotography shots in no time. Pack up your gear and get ready to expand your portfolio!


